WordPress Admin Recovery
Have you ever found yourself locked out of your WordPress admin panel, desperately searching for a way to regain control of your website? Well, fear not, because in this tutorial, we're going to show you a powerful solution.
Loosing your WordPress admin password can be a stressful situation, but with the help of phpMyAdmin, you can create a new wp-admin account and get back in the driver's seat of your website. Whether you've forgotten your password or simply can't access your WordPress admin panel for some reason, this step-by-step guide will walk you through the process of resetting your admin credentials safely and effectively.
Prerequisites
In order to perform recovery, you need to have your phpMyAdmin app installed alongside your web applications. Consult your hosting provider or your web management stack.
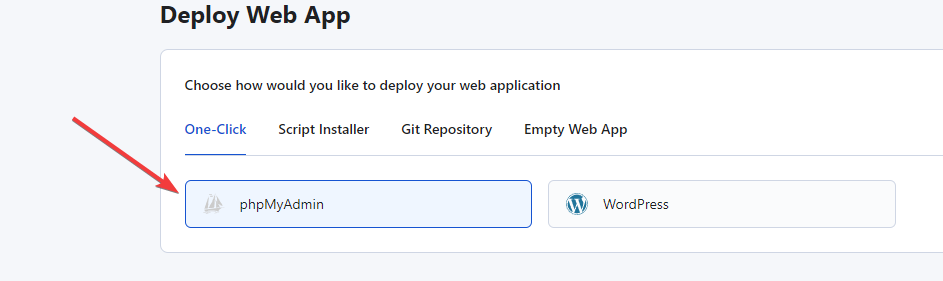
Here is an example how you can deploy it in Runcloud.
Password Reset
In some cases, you just need to reset your password when you don't receiving emails from your WordPress.
Get your database credentials from wp-config.php file.
- Log in into your phpMyAdmin instance.
- Select your database.
- Navigate to wp_users table.
If your database prefix have been changed, replace wp_ with your custom prefix!
- Select your desired user.
- Edit user_pass field with your new password and select from dropdown MD5.
- Click Go.
Create Admin User
If password reset procedure does not help or for whatever reason you are not able to log in, follow this step by step to add new Wordpress admin.
- Log in into your phpMyAdmin instance.
- Select your database.
- Navigate to wp_users table.
If your database prefix have been changed, replace wp_ with your custom prefix!
- Click Insert.
- Add required new user data as follows:
ID — Enter any available ID number. Make sure to remember or save ID for later. If your ID is already in use, choose different one
user_login — The username for this user.
user_pass — The raw password the user will login with.Select MD5 from dropdown.
user_nicename — The author slug or name.
user_email — The email address associated with this user.
user_status — Insert 0.
display_name — The display name for the user.
- Click Go.
- Click Go again.
- Select wp_usermeta table.
- Click Insert again.
- Add required field as follows:
user_id — Same ID from Step 5
meta_key – wp_capabilities
meta_value — a:1:{s:13:"administrator";b:1;}
- Click Go at the bottom and on the query.
- Click Insert for the last time and add following:
user_id – Same ID from step 5
meta_key – wp_user_level
meta_value – 10
- Click Go.
Now you should have access to your Wordpress via admin that you just created.
About Webnestify
Imagine a world where you can focus on your business and less time maintaining your cloud infrastrucure. With Webnestify cloud based solutions, we provide customized solutions for all types of companies to meet their needs; no matter how big or small they may be!
Read our reviews on Trustpilot!
Subscribe to our YouTube channel!
If you need to setup your own Docker instances or need help with security, visit our contact page.